
Introduction
A long time I used DuckDNS to get access to my webservices running on my home lab server (Unraid). This worked pretty well when having access to a fast refreshing DNS server. Unfortunately the DNS server at my employer caches requests for roughly 6 hours. That delay pushed me to a cron-jobbed restart of my router/modem to somewhere in the middle of the night, as I have a VDSL connection with a forced disconnect every 24h.
But once in a while the connection dropped and I again had to wait for several hours to be able to use my services.
One additional issue are exposed ports in my homelab, which all got portscanned over and over. This reduces my personal bandwidth - sometimes from 100Mbps down to 5Mbps. Also this created a big surface for possible attacks.
This got my user pain finally up to a level that I had to do something against that.
Solution
I thought about a easy solution a pretty long time. I thought about Tailscale, Cloudflare and others.
I didn't want to pay for a service, when already paying for a VPS. Also I'm not a fan of centralising the web in one spot (Yes, Cloudflare, I mean you!).
The VPN way has the benfit of keeping all ports closed in my home firewall and also have access to all services running in my home lab.
As a start I planned the network graphically.
Yes, this is a rough overview. I have several WireGuard clients which are connecting to the WireGuard server over their individual internet connection.
Please don't think of this article as a complete tutorial. I wrote down everything I've done, but probably missed something. Feel free to follow my steps, but take them with a grain of salt. Take care: You might need to do further reading!
VPS
The VPS is running several services. The main is a Docker host.
Wireguard Easy (wg-easy) is running as a container to serve as WireGuard host to which all clients connect. Also running as container is Nginx Proxy Manager (NPM) which is used as reverse proxy for all my web services.
The VPS itself connects also to WireGuard, so NPM is able to connect to the Unraid machine on the other end of the tunnel.
Setup
Wireguard config on the VPS
Installation of WireGuard
I'm only showing the steps needed with a system running Ubuntu 24.04, as this is what I'm using. For other distros the steps are pretty much the same. Maybe the services are enabled / configured / started somewhat different.
Let us begin! 🚀
sudo apt update
sudo apt install wireguard
Configuration
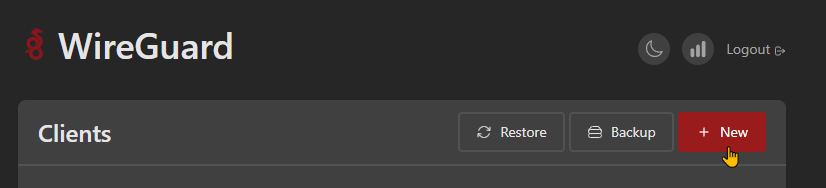
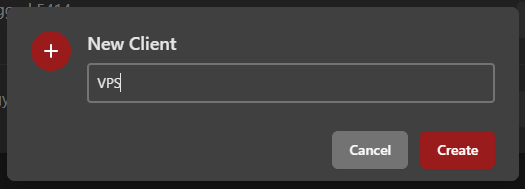
Create a new WireGuard client in the wg-easy webinterface
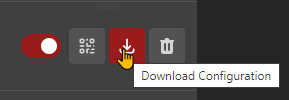
Now we will use the contents of this config file to create a new config file.
sudo nano /etc/wireguard/wg0.confPaste the settings of your downloaded config file into the editor and save the file.
[Interface]
PrivateKey = <-- obfuscated -->
Address = 10.10.0.4/24
DNS = 1.1.1.1
MTU = 1420

[Peer]
PublicKey = <-- obfuscated -->
PresharedKey = <-- obfuscated -->=
AllowedIPs = 10.10.0.0/24
PersistentKeepalive = 25
Endpoint = <-- obfuscated -->
Now we need to enable the service for wg0:
sudo systemctl enable wg-quick@wg0.service
sudo systemctl start wg-quick@wg0.service
sudo systemctl status wg-quick@wg0.service
How to keep the tunnel alive?
During testing, I've experienced drops in the tunnel on my VPS side.
I've used a script from [FuzzyMistborn], which I modified to my WireGuard host's IP address.
The script pings for a maximum of three times and then restarts the tunnel.
We need to create this script with the following commands:
sudo nano /etc/wireguard/wg0_refresh.shNow copy the follwing contents into the file and save.
#!/bin/bash
# 24/09/10 ZINK: modified from https://blog.fuzzymistborn.com/vps-reverse-proxy-tunnel/
# Modified from https://mullvad.net/en/help/running-wireguard-router/
# and https://wiki.r-selfhosted.com/guides/virtual-private-networks/wireguard/
# ping Wireguard gateway to test for connection
# if no contact, restart!

PING=/bin/ping
## DEBIAN
SERVICE=/usr/sbin/service

tries=0
while [[ $tries -lt 3 ]]
do
    if $PING -c 1 10.10.0.1
    then
            echo "wg works"
            exit 0
    fi
    echo "wg fail"
    tries=$((tries+1))
done
echo "wg failed 3 times - restarting tunnel"
## DEBIAN
$SERVICE wg-quick@wg0 restart
We now have the script which restarts the tunnel if it fails.
To enable a 5 minute interval of execution for this script, use the following commands:
sudo chmod +x /etc/wireguard/wg0_refresh.sh
crontab -e
Paste the following snippet into your crontab.
0/5 * * * * /bin/sh /etc/wireguard/wg0_refresh.shFinally we need to make sure the cron service is reloaded:
sudo service cron reloadThe first step is finished: WireGuard is running and our VPS is connected. We now have access from nginx to the WireGuard network. The next step is Unraid.
Unraid
To begin with the integration of Unraid, make sure that you have a recent version (6.8 and newer) which enables the use of WireGuard.
Please also create a new client in your wg-easy GUI for Unraid and download the config. We need some of the contents for the setup of Unraid.
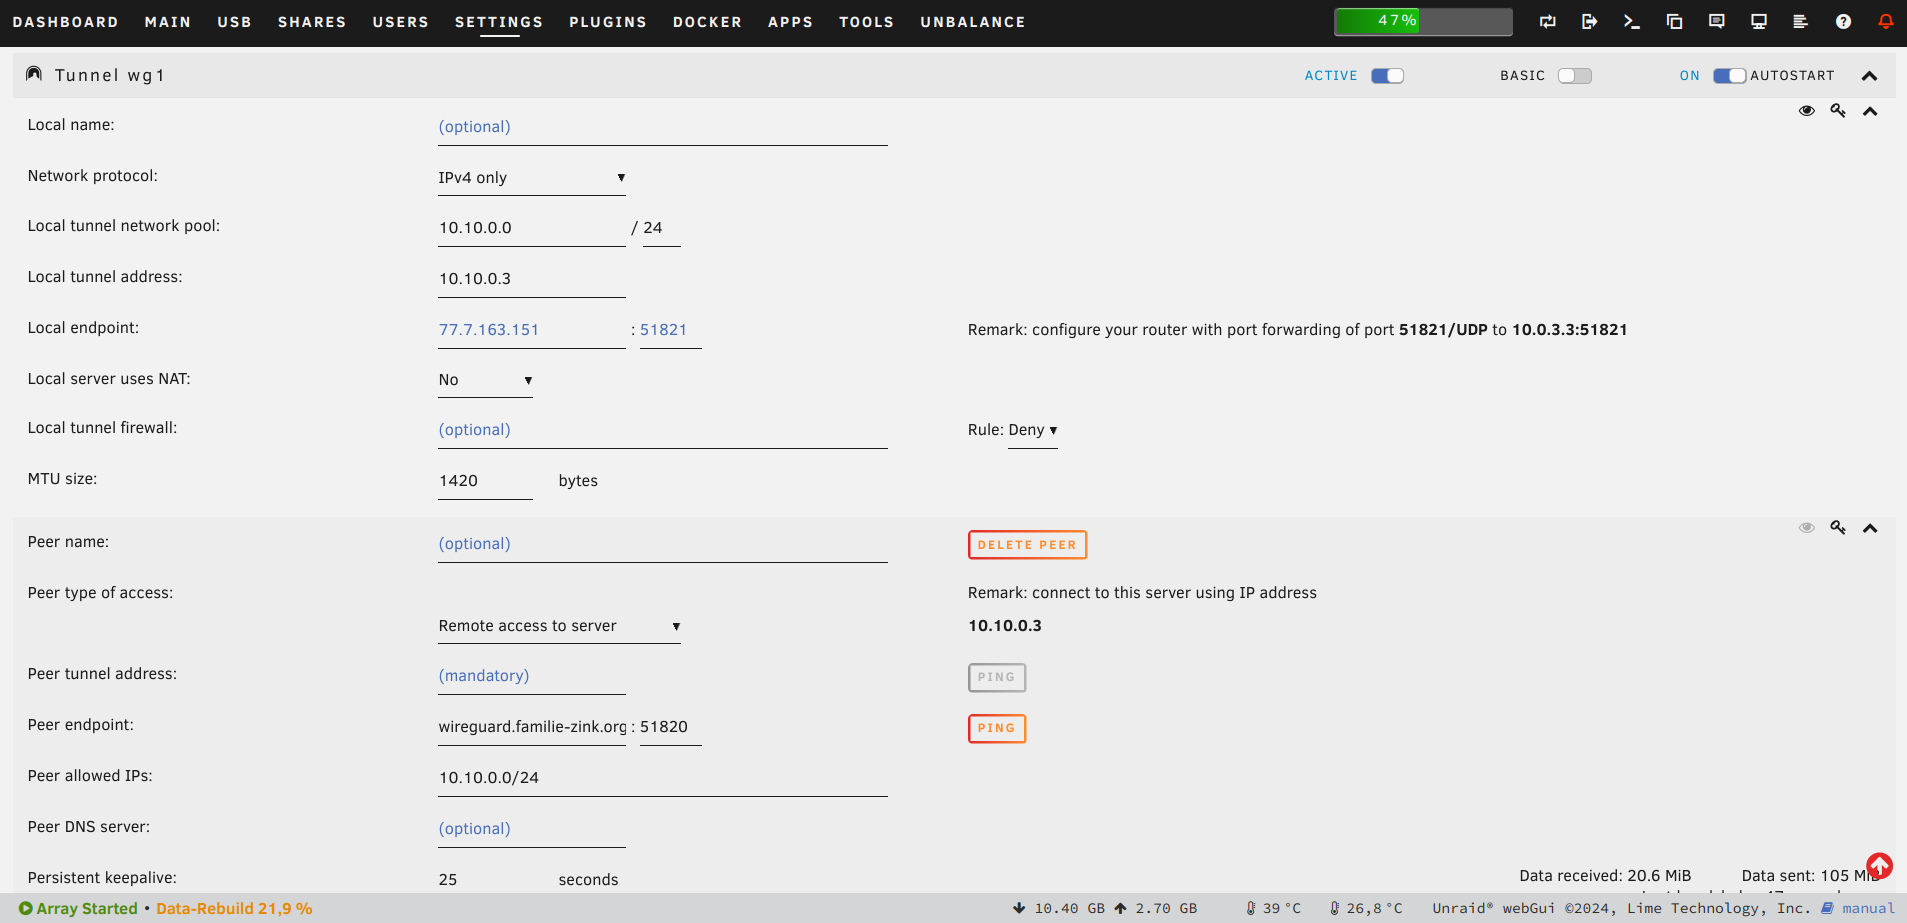
Now go to the VPN manager in Unraid
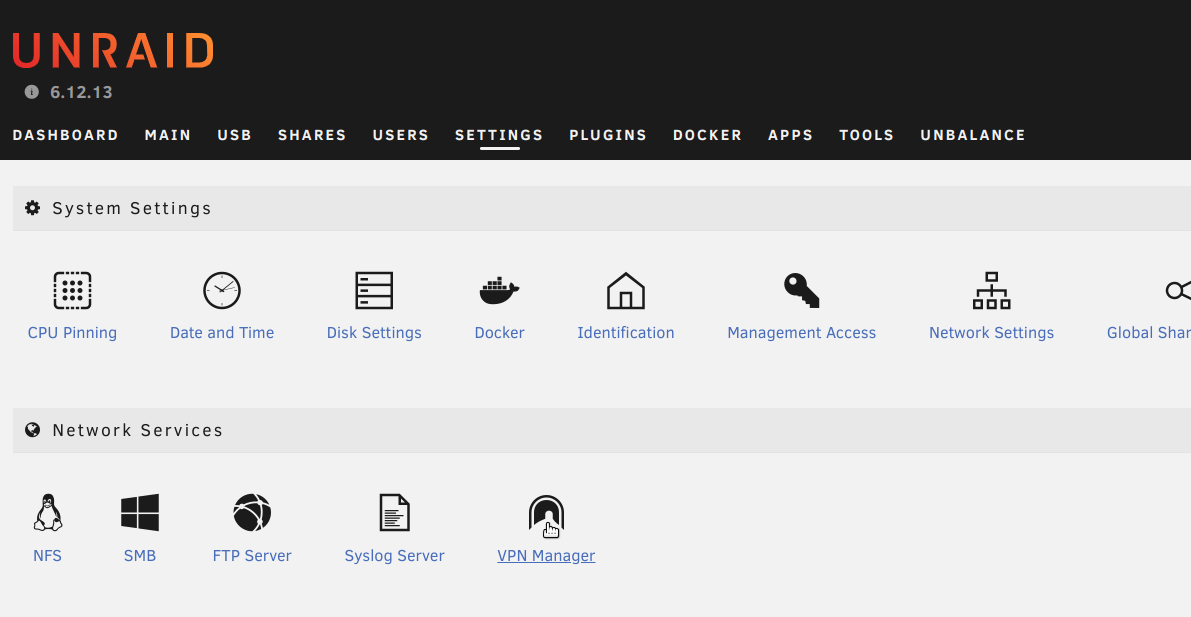
You simply need to import the configuration file, activate the tunnel and enable autostart. Finito! You can check your status on the wg-easy user interface.
Nginx Proxy Manager
Setting up the configuration in NPM is straight forward. You simply forward to your Unraid host's IP with an exposed port of your application.

Conclusion
The process is fairly straight forward and easy. Now I have a rock stable (at least for the last 8 weeks) connection. I only have one interruption per day, but it's really fast as Unraid reestablishes the connection within 30s, so the down-time of the homelab services is pretty short.
I'm also using the VPN to get my mobile devices (mobile phone and laptop) into my home network. I didn't bother setting up IP forwarding, so I can only connect to my homelab services, but that's enough for me. If you have the need for a proper VPN connection with access to all devices, you need to go on reading about WireGuard, but it should be also pretty easy to get that running.
My future plan (within the next weeks) will be a small backup setup, so my important files will be backed up to an offsite NAS in my parents house. I will also write a short guide for doing that.